Many years ago, before I was born, my grandmother had a Christmas village of paper houses, churches, and barns. They were hand painted, mostly in brick reds and turquoise, the turquoise being my favorite. I liked it because it isn't a traditional Christmas color, and for some reason, looks more vintage to me.
Each one was sort of wobbly looking, delicate and showing the years of being handled and packed away in ornament boxes... I loved them!
I'm sure you've all seen versions of these little villages that were popular in the 50's and 60's. (Or maybe earlier?) My dad was number eight of nine brothers and sisters. A huge Irish family. I am the baby of 34 grandchildren. When my grandma passed away, the village was divided among the granddaughters, each of us taking one. This is mine.
I was at Target the other day and among their Christmas decorations, they have a collection of replicated
vintage paper houses this year. I was so excited to see the turquoise trim on one that I almost bought it...almost. But then I thought..."Why pay $12 when I can make that with the cardstock I have at home!" And like always, by the time I bought the glitter and decorative trees, and the light box to go inside, I was right around $12 after all...oh well, homemade is better right? If you decide to make one of these for your own, don't worry about being perfect, the original certainly wasn't and it gives it all the more character.
SO here's the process.
I used Bristol Board because it's what I had on hand. Card stock would work well also. I drew a simple house shape 4 inches wide, divided it in half and peaked the roof evenly. (My high school drafting class came in handy for this project.)
Then I used a tea light candle as a stencil for the round window that I wanted at the top.
Drew on some other windows and a door.
Then I cut out the "glass" area with a blade, leaving the window frames and cross bars.
viola! (don't worry about the pencil marks because they'll be on the inside. Trace this again for the back of the church.
Then I drew the two church sides. About 6 inches long. They can be as long as you want, just make them the same. And as tall as front of the church before the roof starts...cut out some windows too!
Then I taped the pieces together, pencil sides in. The tape acts like a hinge.
Now it will stand up.
For the roof. I folded a piece of Bristol board in half, and trimmed until I was happy with the overhang. (you will glue it on later with the glue gun)
Another piece of board works as the base for everything to sit on. Trim it as large or as small as you want your church yard.
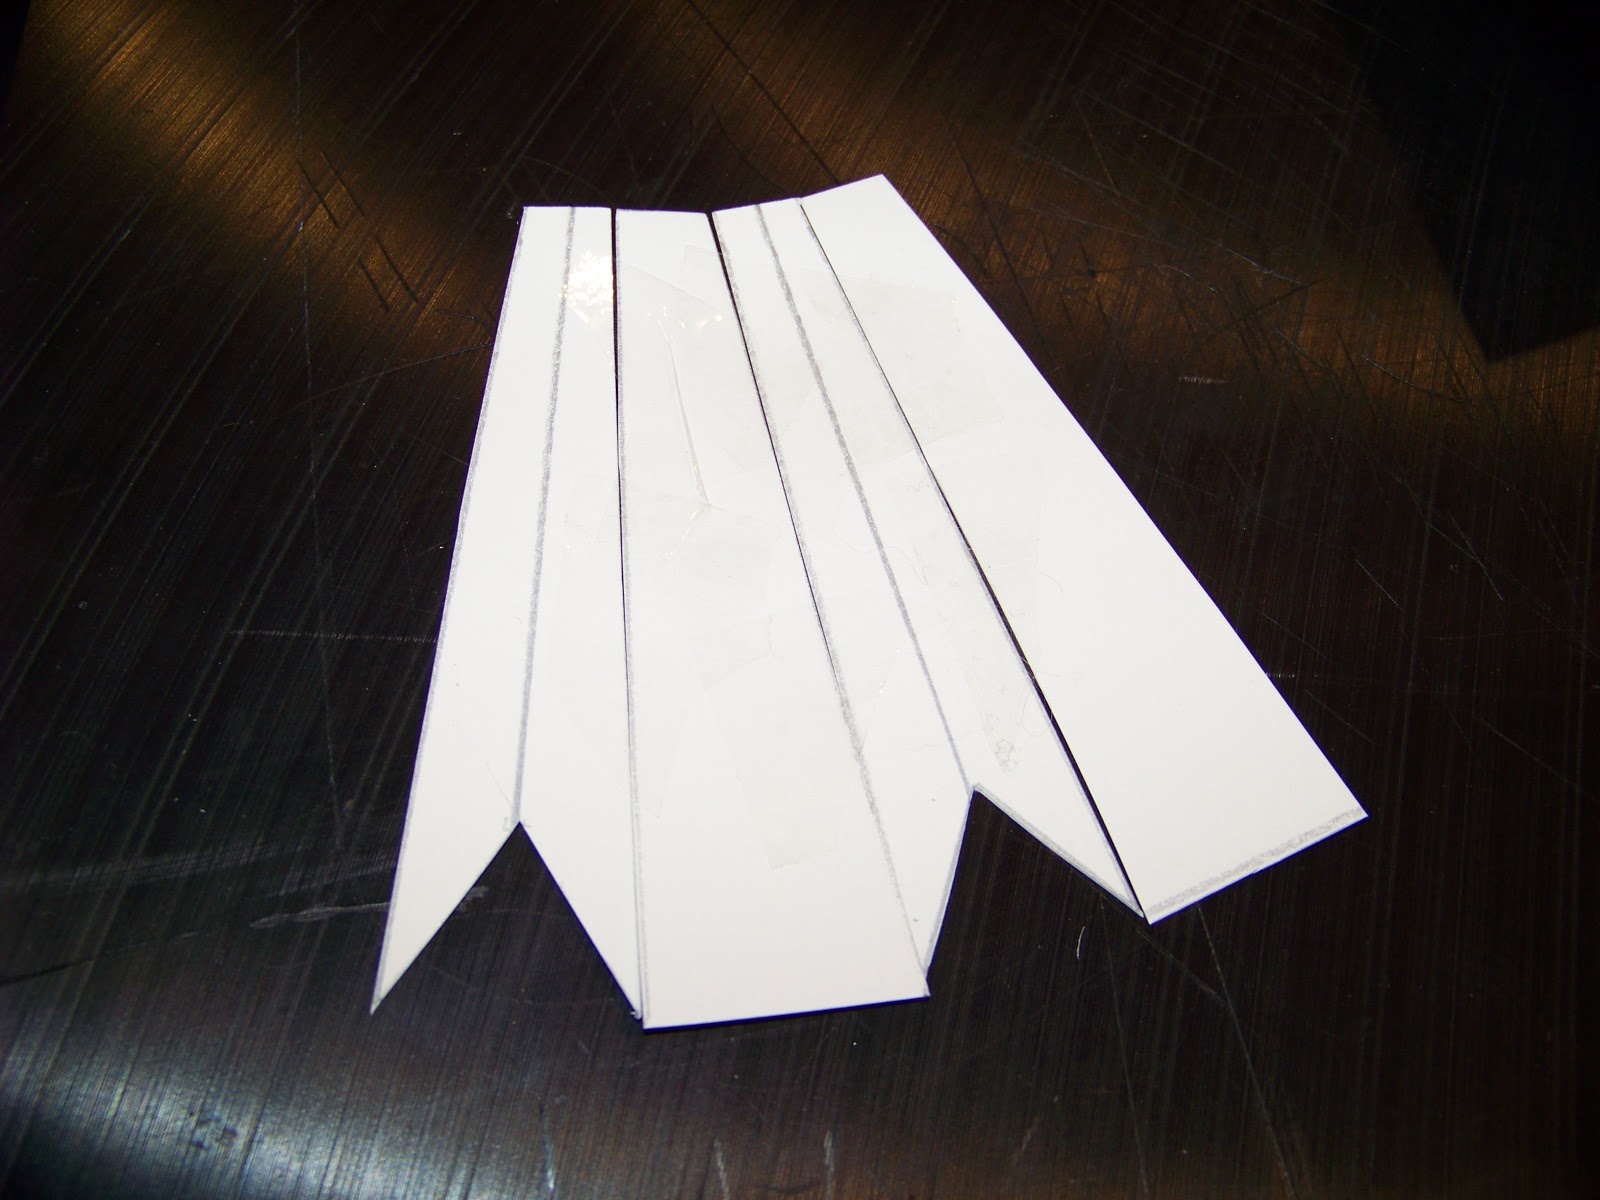
The Steeple: This is the negative scraps from cutting the two roof lines (the front and back of the church). I used this to easily make the steeple.
Measure a straight line across the tip of the roof lines. This will determine how far the steeple sits on the roof.
Then draw an angled line from the roof line to the tip of the steeple. How wide you make it at the tip, will determine how wide your steeple is and how it angles where it fits together.
Do it to both sides...
And cut them out.
Trace two more sides to the steeple without cutting the triangle roof peaks. (These will be the sides)
Tape the steeple together...
And make sure it fits (You will glue it to the roof with the glue gun later)
To add stained glass windows you will need some permanent markers and Acetate (or transparency paper)
Color any design you desire for the stained glass effect.
Let the marker dry.
And tape it to the inside of the church.
Mix up some good vintage turquoise paint. (Or any color you want) I used acrylic.
And paint along the edges of the roof. (This is how the original looked, so I followed suit)
Let the roof dry and glue it on with the glue gun. Glue your steeple on in the same manner. You can also glue the church to the base with the glue gun.
Here's where the creativity gets fun. I glittered the roof of mine with Elmers glue and big chunky white glitter. I then added coiled pipe cleaner trees and a pipe cleaner wreath, but you could put cotton "snow" decorative figures, a little paper picket fence...whatever strikes your fancy.
I then poked a hole in the back and fitted a battery operated light strand to illuminate the church from within. I used battery power because I was afraid the plug in lights might get too hot for a paper church?
Let me know if you give it a try!


1 comment:
This is really good. Your page is the only one I can find on how to make easy church stained glass windows for my paper church. Thanks for sharing :)
Post a Comment