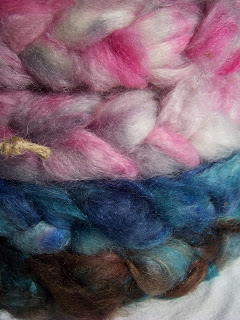
I've been dying a lot of roving lately, and ultimately I dye much faster than I spin, so the batches of brightly colored fiber have been piling up.
In the last fiber post, I ended with my roving laying out to dry. Dyeing Roving This is not the same batch that I dyed earlier. This is a green mix. I will get back to the olive blend.
A nice way to store/ display roving is in these pretty coils. There's a couple of ways to create a coil. I'm going to show how I hand crochet one.
The nice thing about crocheting the roving is that, because it's a series of slip knots, you just pull one end and the roving slips free. You can spin right from the tail.
Another method is braiding. Which doesn't allow the fabric to slide out as easily, but you get a tighter coil. I've been braiding the roving that I'm not planning on spinning right away for longer storage. Ultimately, whichever method, it keeps the fibers organized and somewhat protected from fluffing all over. (I'll show braiding a single strand in a future post.)
If you already understand the basics of crocheting, this will be a simple process. The only difference is that I don't start with a slip-knot because I don't want the fibers to "noose" up too tightly. Instead, I start with a loop.
Then I twist it again.
Reaching my hand through the loop from back to front I grab both the tail and the main strand of roving and pull through the loop.
...thus creating another loop.
Now repeating with the new loop, I reach my hand through and pull out the next amount of roving from the main strand. Continue until the whole amount is crochet into a chain, and tuck the last bit back on itself under a couple of chains.
Coil the chain around itself like an old fashioned lollipop. When It's all coiled, I insert a piece of twine through the center and tie it to the out side of the disk to hold the end in place. This also helps give the layers some stability.
Then I can layer these disks in convenient stacks.


No comments:
Post a Comment