Monday, February 28, 2011

Making Goat Cheese

Goat cheese is an exceptionally fast and easy cheese to make, and if you watch the sales, it can be very inexpensive compared to store bought. At our Kroger we have what's called "Manager's Special" promotions where a product is getting close to the expiration date. Each time I go to Kroger, I check out the organic section and price the goat milk. I can usually get a half gallon for about $1.99 on sale ($4.00 regular price). This amount will easily make 3/4 cup of cheese. The smaller portions of goat cheese in the deli section sell for around $6.00. So you can see the bargain. But more importantly, homemade goats milk can be made to your tastes. Zach and I tend to salt ours a bit more and we add a TON of fresh cracked pepper. I've purchased black pepper goat cheese and the pepper flavor is always lacking. You can add any herb you like, garlic, basil, sun dried tomato bits, my friend Camille adds honey to hers and it's delicious!


To make goat cheese you need:
  • goat's milk (I use Meyenberg Vitamin D)
  • white vinegar
  • cheese salt
  • exceptionally clean wash cloth
  • fine mesh strainer
  • medium bowl
  • a medium pot
  • thermometer
Pour your goats milk into the pot and heat to between 180 to 185 degrees.

Start adding vinegar a little at a time until the curds start to separate. If you add too much vinegar, (within reason) no worries, it will be strained out when the curds are collected.

Rinse your wash cloth, especially if you use fabric softener. (You don't want Downey scented cheese, ha!) Lay the washcloth flat against the strainer over a bowl.

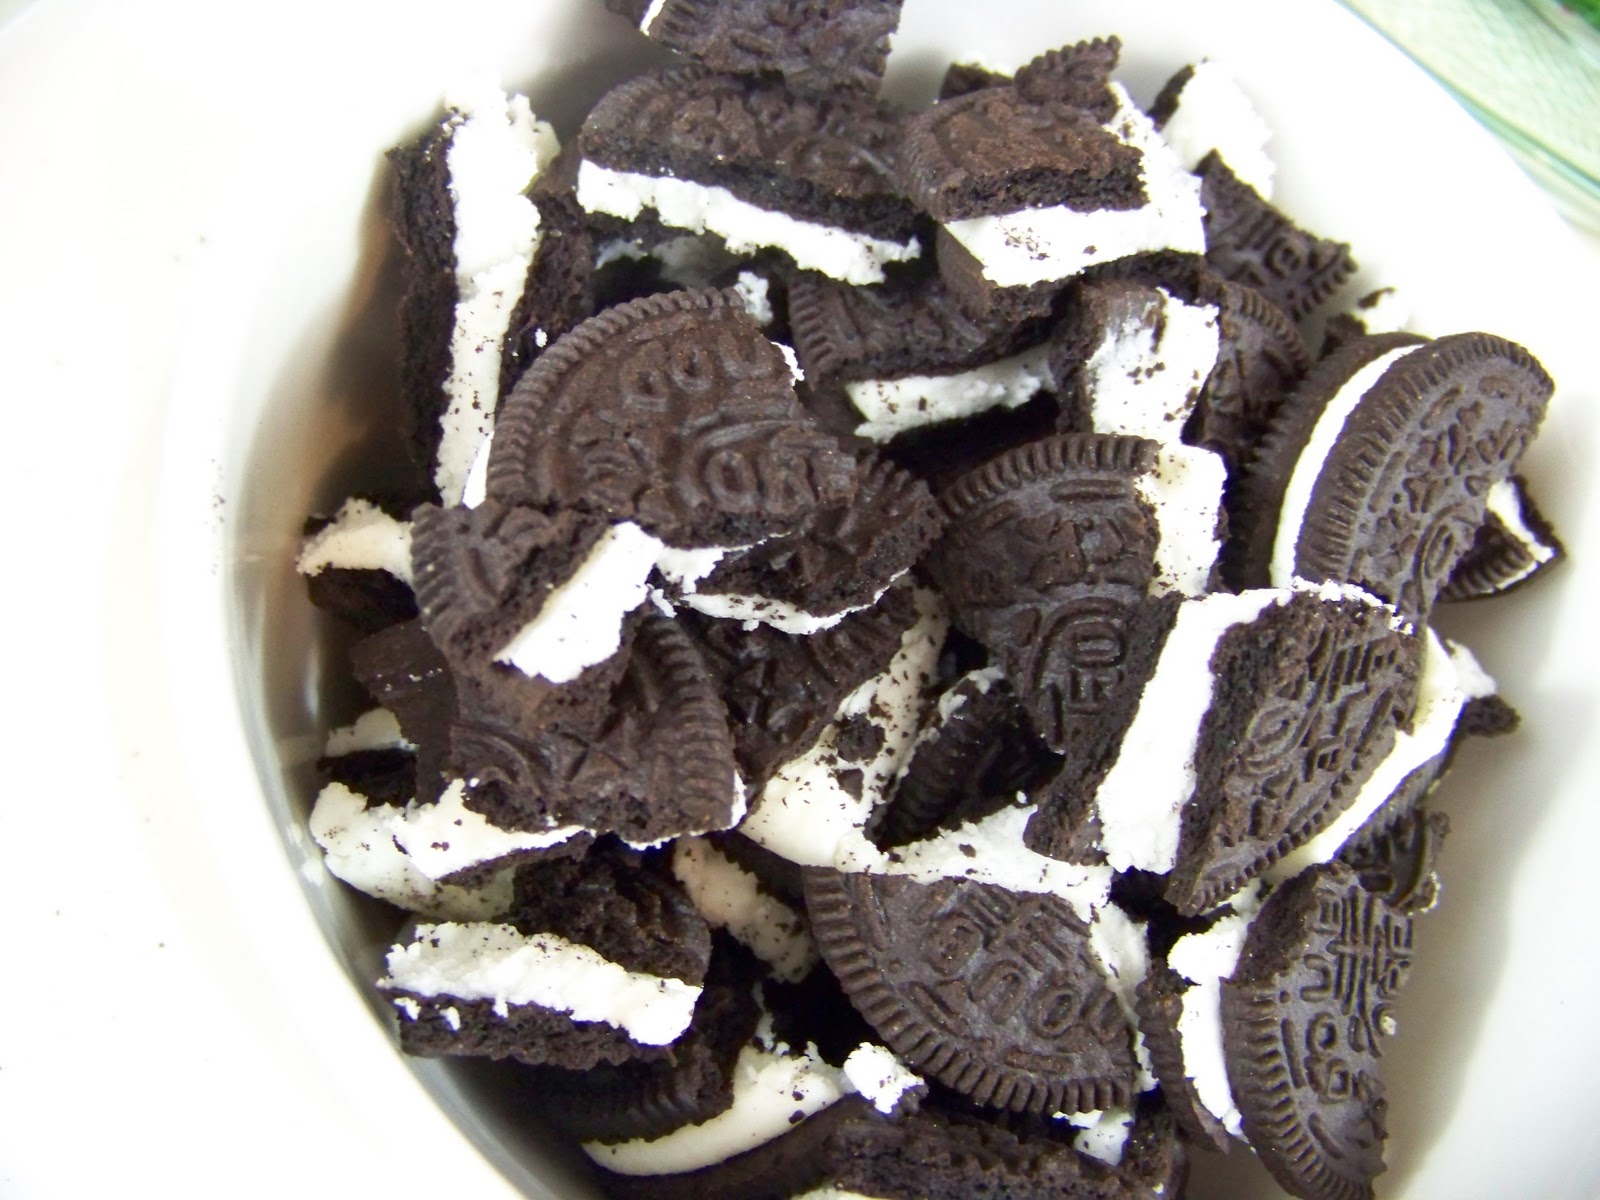
Pour the curds, whey and vinegar through the cloth. You will have to use a spoon to scrape the bottom so the whey can continue to pass. The curds will "clog" the pores of the washcloth so you have to keep that moving. I think a wash cloth works better than cheesecloth because the curds are really small and you can trap more in a wash cloth.

When a good amount of the liquid is gone, you can gather the edges of the cloth and squeeze more liquid out. The more liquid you remove, the dryer the cheese will be.

Once you've reached the desire consistency you can begin to flavor the cheese. I stat by adding a tsp of salt at a time, mixing and tasting until I like the flavor. I add herbs in the same manner. As the cheese cools it will become more flavorful.

Zach and I save little wooden cheese boxes and recycle them for all kinds of reasons. I take a cheese box, line it with plastic wrap or wax paper and press the cheese into the wheel, then fold the plastic over the top.

I really like goat cheese with sweet flavors. Try stuffing dates with goat cheese or on salads with sweeter dressings like poppy seed.

As a side note, I got an excellent reader question sent to me via e-mail and I thought I should answer it here just in case others were wondering the same.

Roberta from New Hampshire wants to know why we had to buy goats milk. She asks, "why don't we just milk our own goats."

That's a great question. In fact, eight years ago when I first started looking into Angora Goats, I was all excited to invest in a "multi-purpose" animal, and I must say, I was slightly disappointed to learn that we wouldn't be able to shear and milk them. I'll start with a little goat anatomy lesson.

First off, you must breed an animal for it to produce milk. Just like a lady, our bodies don't just start producing milk, we must first become pregnant. A goat, on average, will produce milk for about a year after her offspring is born, long after the offspring is weaned. Then she must be bred again to continue producing.
Because we didn't breed our girls last Fall (long story) there's no way we could milk them.  

Secondly, we don't have dairy goats. Our goats aren't even considered multi-purpose like a meat goat that could be milked, or a cross. Angoras are considered a delicate breed in the goat world. This comes from all the fiber that their body produces. Their bodies have to work hard to produce all that fiber, sometimes at the cost of producing milk for their offspring. When a mother Angora is lactating her body is under a good amount of stress and many times her fleece will stunt. So unfortunately, Angoras don't have any milk to spare for us. Now dairy goats, have been known to produce between a gallon to a gallon and a half a day.....hmmm...now there's an idea!

Friday, February 25, 2011

Farm Photo Sharing

I'd like to open something up to all of you. Actually, you were all always welcome to do this, but maybe this post will serve as a little added encouragement. In interacting through comments, contests and the beloved e-mails you all send me, I gather that quite a few of you have beautiful gardens, animals, and homesteads. I would LOVE to see them, and (in speaking for everyone else) I'm sure other readers would as well.

So PLEASE, send me some photos of your cows, your chickens, your beautiful seedlings starting to emerge from pots in the living room, projects you've been working on or anything else that strikes your fancy and I will post some of them on Iron Oak Farm. Once a week? Once a month? Guess it depends on how many I receive. Maybe we could even have a photo contest in the future! I think this could be fun!


Include your name and where your from and send your fantastic photos to... jenniferannmurphy@yahoo.com
If you have a website I'll link you up, if you link me back.

Thursday, February 24, 2011

Don't Forget to Vote!

The February Name that Chicken contest will be over in less than a week. February 28th's the last day. Be sure to subscribe and cast your vote in the form to the right. One name will be drawn from the correct answers and will be the lucky winner of one of Zach's hand forged bottle openers.

Wednesday, February 23, 2011

CC Post: Chicken and Dumplings

Check out February's second Community Chickens post, Chicken and Dumplings.

Wild Wednesday, Flocks of Swallowtail

I took these images a couple years ago on a kayaking trip on the Pine River in north west Michigan. The river is beautiful and winds through Manistee National Forest.
The Eastern Tiger Swallowtails here appeared to be drying their wings.


Tuesday, February 22, 2011

First Batch of the Season!!!

Zach and I fired up the incubator last night. Seven Blue Laced Red Wyandotte, little ovals of hope. Although, I'm not exactly full of hope with this batch. For starters, our rooster seems a little...ahem...shy.
Also, I know that our hen lays everyday around 1:00 in the afternoon, so if I got down there in time, the egg would still be warm. But a few of them got cold because of the frigid winter temperatures. They are supposed to stay above 40 degrees, I guess there's no way of telling unless I put them in the incubator. We will see???

Monday, February 21, 2011

Another Way to Dye

Sometimes when I'm dying I want a more controlled look. Sprinkling in the acid dyes can give rich deep colors, but the powder dye spreads out however it wants. One way that I change this is to create liquid dyes and pour them into recycled squirt bottles.

To mix the dyes I add around 2 tsp powder dye to a disposable cup. (When using dyes wear a mask, gloves and only keep dying equipment for dying.) Fill half full with water. Stir until the powder is completely dissolved.
Using a funnel funnel the dye liquid into your squirt bottle. I then rinse the cup with a bit more water and add this to the squirt bottle as well, as not to waste even a smidgen. Wipe clean, and label. The thing with using powder dyes is that a little goes a long way. Measurements aren't super important because it has less to do with water to dye ratio as it does the intensity of the color and the saturation that the fiber can hold. The fiber will only absorb so much dye, and once that's accomplished, if you add more dye you'll just be wasting it. To find the right amounts, it takes trial and error. But to give you an idea, for 4 oz of roving, I use anywhere from 1/4 to 1/2 a squirt bottle with 2 tsp powder dye liquid mixture.
To dye the roving, I use disposable metal tins found inexpensively at the Dollar Store. I re-use them over and over.  Fill the pan with approximately 2 inches of water.
I snake the roving (there's 4 oz here) back and forth in the pan vertically. Heat until just under a simmer. When the water starts to steam glug in a good amount of vinegar. Again measurements depend on the color your using. Red takes longer to penetrate, so when using red dyes you'll need more vinegar, in fact, is any color doesn't seem to be absorbing, simply add more vinegar. After a while you'll get the hang of what each color calls for, and you can't really make a mistake.
Now the fun part. I squirt the liquid dye back and forth in horizontally, in the opposite direction as the yarn is snaked. This is where I can really be creative. If I don't want the colors to mix as much, I wait longer in-between each application. I also start with light colors first, let them absorb and apply the next. Occasionally I have to glug in extra vinegar if the colors don't seem to be taking, the acid in the vinegar is what adheres the dye. You can also use citric acid, but I find that vinegar is cheaper.
Once I have all my colors on I let the dye pot steam on low for a half hour. Move the roving aside, if your water is clear, or close to, all the dye has absorbed. If not, let it go another half hour. If it hasn't absorbed in an hours time, chances are, the fiber is saturated and won't take up anymore dye. Allow to cool to room temperature, then drain gently and rinse in warm water. Avoid over handling as not to felt the fiber. Dry on a rack. This technique gives a nice heather-ed look that looks beautiful when spun.  

Tuesday, February 15, 2011

New Yarn

Variegated Plum
Newest selection of yarn is available. Variegated Plum. 2 ply chunky yarn which knits nicely on a 10 to 10.5 needle, makes for a fast project. 1 Lb available, 4 oz skeins, approx 65 yards. 95% Mohair, 5% Angora...SO soft! Click on any image under Iron Oak Farm Products (to the right) to visit our shop.

Homemade Oreo Ice Cream

This recipe is sinfully delicious! The secret ingredient that makes it extra rich is the butter cream frosting. 
Ingredients:
  • 3 cups heavy cream
  • 1/2 cup sugar
  • 1 vanilla bean
  • 1/2 cup buttercream frosting
  • 1 sleeve Double Stuffed Oreo Cookies, broken
Split one vanilla bean lengthwise, and run the flat edge of a knife down the two insides scraping out all the delicious seeds.
Add the whole bean, the scraped seeds and the sugar to the cream and heat in a pan until it starts to simmer. Remove the vanilla bean.
While the cream is still warm, add the frosting


and beat with a whisk or hand mixer. Allow to cool. Prepare your ice cream maker and pour the cream mixture into the machine.

When the ice cream is soft frozen, add the broken cookies.
Store in the freezer. 

Monday, February 14, 2011

Love is in the Air, First Mated Pair

Ahhh, love, sigh!
In honor of the year's most romantic day, I thought I would show you the romance we have brewing in the barn. This is our first mated pair of the season. We're waiting a couple of weeks to cleanse her of any cross mating. She was with our little Bantam Cochin, and while he's half her size, and, ahem, not very good at getting the job done, (he falls off) I don't want to take any chances and end up with mutts.
Our rooster is one of the friendliest roosters and very gentle. I fall deeper in love with the Blue Laced Red Wyandotte breed more and more each day. But he is quite gallant with his new wife, and backs her into the corner and stands in front of her each time I go in the barn. Chivalry is alive and well in the chicken world! 

Thursday, February 10, 2011

Storing Roving, Hand Crochet Coil

I've been dying a lot of roving lately, and ultimately I dye much faster than I spin, so the batches of brightly colored fiber have been piling up.

In the last fiber post, I ended with my roving laying out to dry. Dyeing Roving This is not the same batch that I dyed earlier. This is a green mix. I will get back to the olive blend.

A nice way to store/ display roving is in these pretty coils. There's a couple of ways to create a coil. I'm going to show how I hand crochet one.

The nice thing about crocheting the roving is that, because it's a series of slip knots, you just pull one end and the roving slips free. You can spin right from the tail.

Another method is braiding. Which doesn't allow the fabric to slide out as easily, but you get a tighter coil. I've been braiding the roving that I'm not planning on spinning right away for longer storage. Ultimately, whichever method, it keeps the fibers organized and somewhat protected from fluffing all over. (I'll show braiding a single strand in a future post.)

If you already understand the basics of crocheting, this will be a simple process. The only difference is that I don't start with a slip-knot because I don't want the fibers to "noose" up too tightly. Instead, I start with a loop.

Then I twist it again.

Reaching my hand through the loop from back to front I grab both the tail and the main strand of roving and pull through the loop. 

...thus creating another loop.

 Now repeating with the new loop, I reach my hand through and pull out the next amount of roving from the main strand. Continue until the whole amount is crochet into a chain, and tuck the last bit back on itself under a couple of chains. 


Coil the chain around itself like an old fashioned lollipop. When It's all coiled, I insert a piece of twine through the center and tie it to the out side of the disk to hold the end in place. This also helps give the layers some stability.

Then I can layer these disks in convenient stacks.

Wednesday, February 9, 2011

Wild Wednesday, Phototrap Model 33 Kit

Got a passion for wildlife photography and about $500? I came across this contraption while searching for screech owl breeding times. So Cool!!! You strap it to a tree or nearby area where you'd expect to see some wildlife action, and it snaps the photos using an infra trigger system. Check out this site to view the amazing images one photographer caught. Phototrap Model 33

On a similar note, I'm trying to figure out if the owl that lives in our wood duck house is nesting. I keep seeing feathers at the opening, and I'm not sure if she's preparing a nest, or if it's the remains of a bird victim that the owl had for dinner, or if it's a molting type thing. I've read that owls are opportunist nesters, they don't necessarily prepare a nest, but use an area that another bird has created. No pellets either~

Tuesday, February 8, 2011

Handspun and Hand dyed Roving and Yarn for Sale

Forest Floor
Just wanted to let you know that now everyone can have a piece of Knit and Purl, Wallace and Grommet. I finally have my hand spun, hand dyed yarn and roving up for sale. Click on any image in the "Farm Products" section (top right column) and it will take you to our shop.

This roving is a blend of 3rd shearing mohair and angora from our own goats and rabbits. It is extremely soft. It is commercially processed at a local, family owned mill, and hand spun and dyed by me using acid dyes. 
Clover Blossoms in the Mist
Boysenberry
Peacock
Penny in the Water

We also have all natural, un-dyed roving for sale as well.

Check back often, as I hope to be adding more and more every day or so.
Clover Blossoms in the Mist


Frog
BlogCatalog